Run Ubuntu Desktop in VirtualBox on macOS
I have installed Ubuntu Desktop in VirtualBox on Windows laptops, and it runs well without any special setting. Although I have also used Ubuntu in VirtualBox on macOS, I always interact with the virtual machine through ssh without using GUI, and it just requires some simple configuration for ssh key. Until I needed to use Ubuntu Desktop on my macOS laptop yesterday, I encountered some problems during setup. In this article, I will describe those problems I met and how I resolve them.
Environment
- macOS Big Sur
- VirtualBox 6.1
- Ubuntu 22.04 Desktop
TL;DR
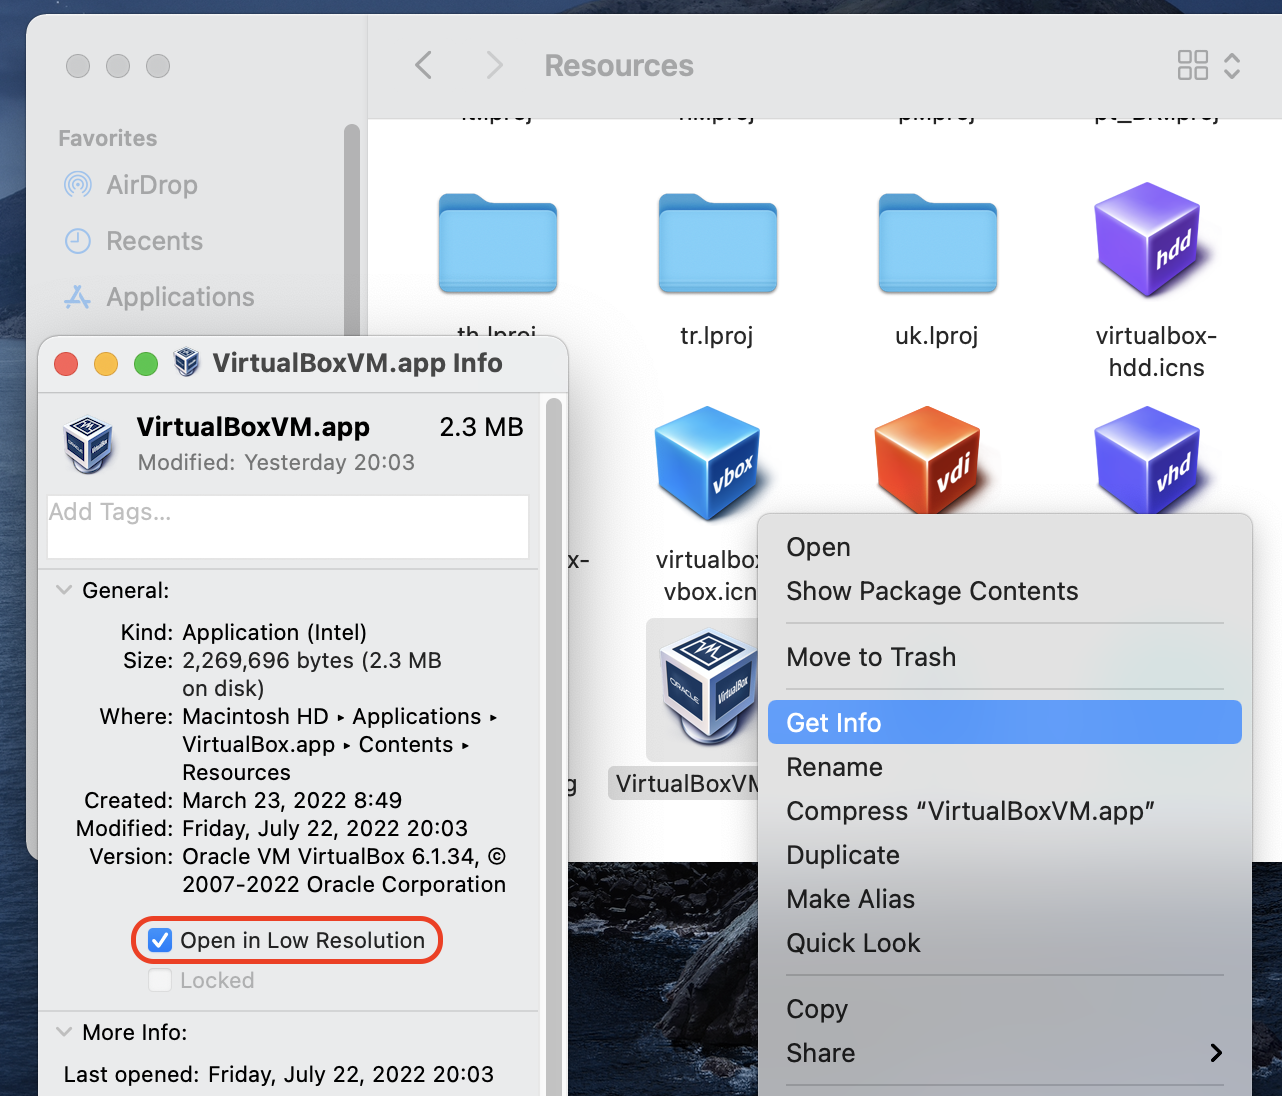
- Right-click on “Finder > Applications > VirtualBox > Contents > Resources > VirtualBoxVM”, select “Get Info”, and check the “Open in Low Resolution” option.
- Run your guest OS.
-
Run the following commands in the guest OS.
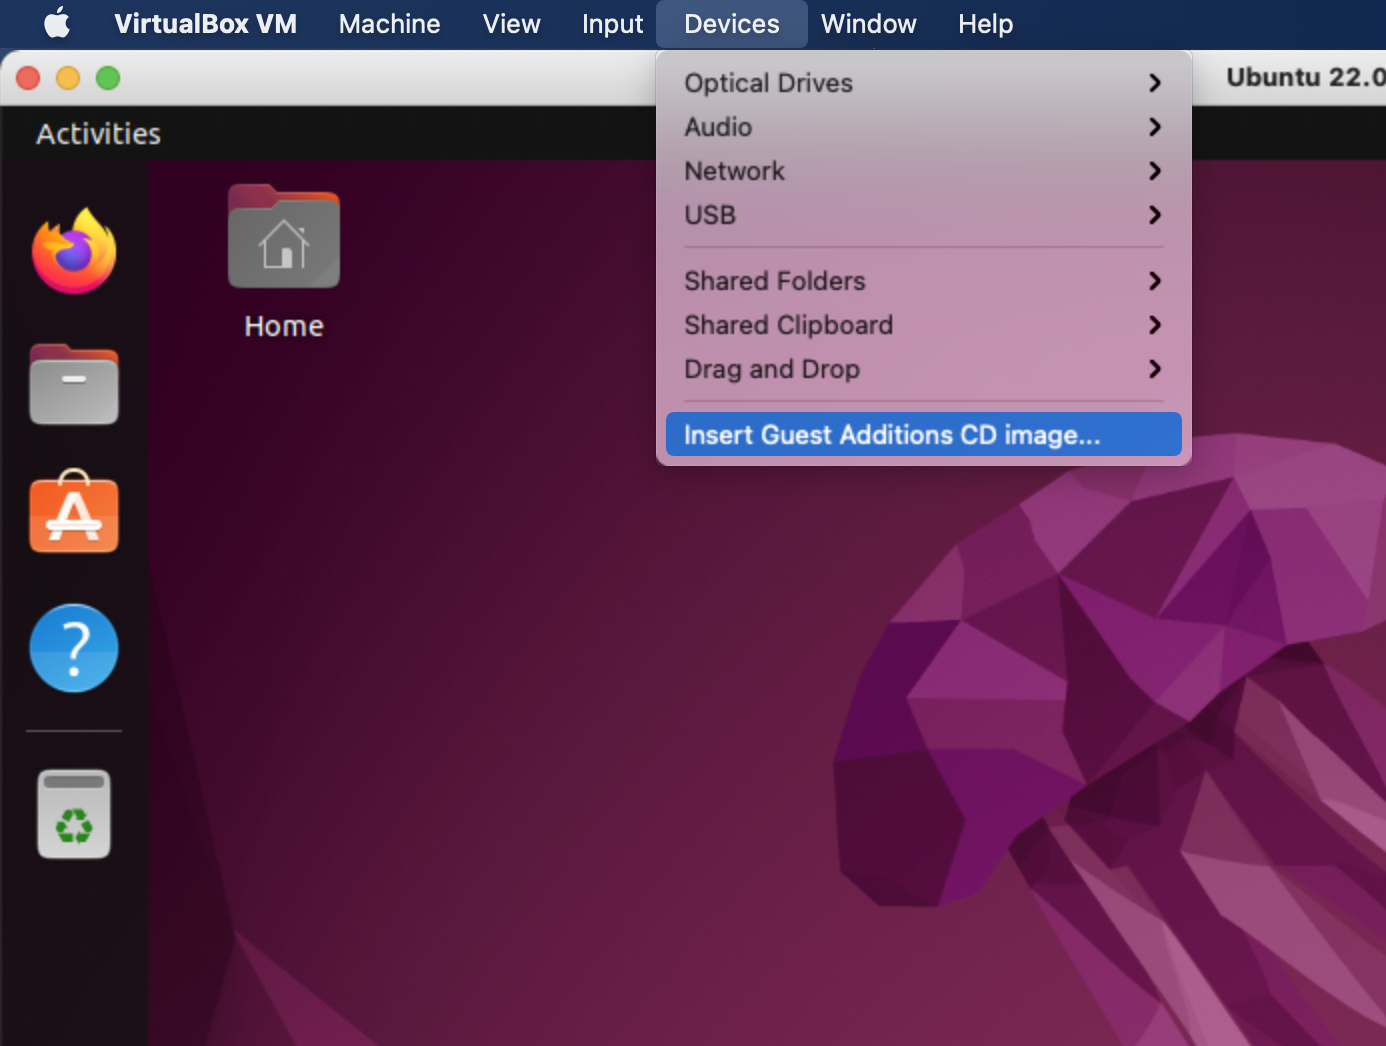
sudo apt update sudo apt install build-essential dkms - Select the “Devices > Insert Guest Additions CD image…” in the VirtualBox
VM menu and run the
autorun.shscript contained in the loaded disk in the guest OS. - Restart the guest OS.
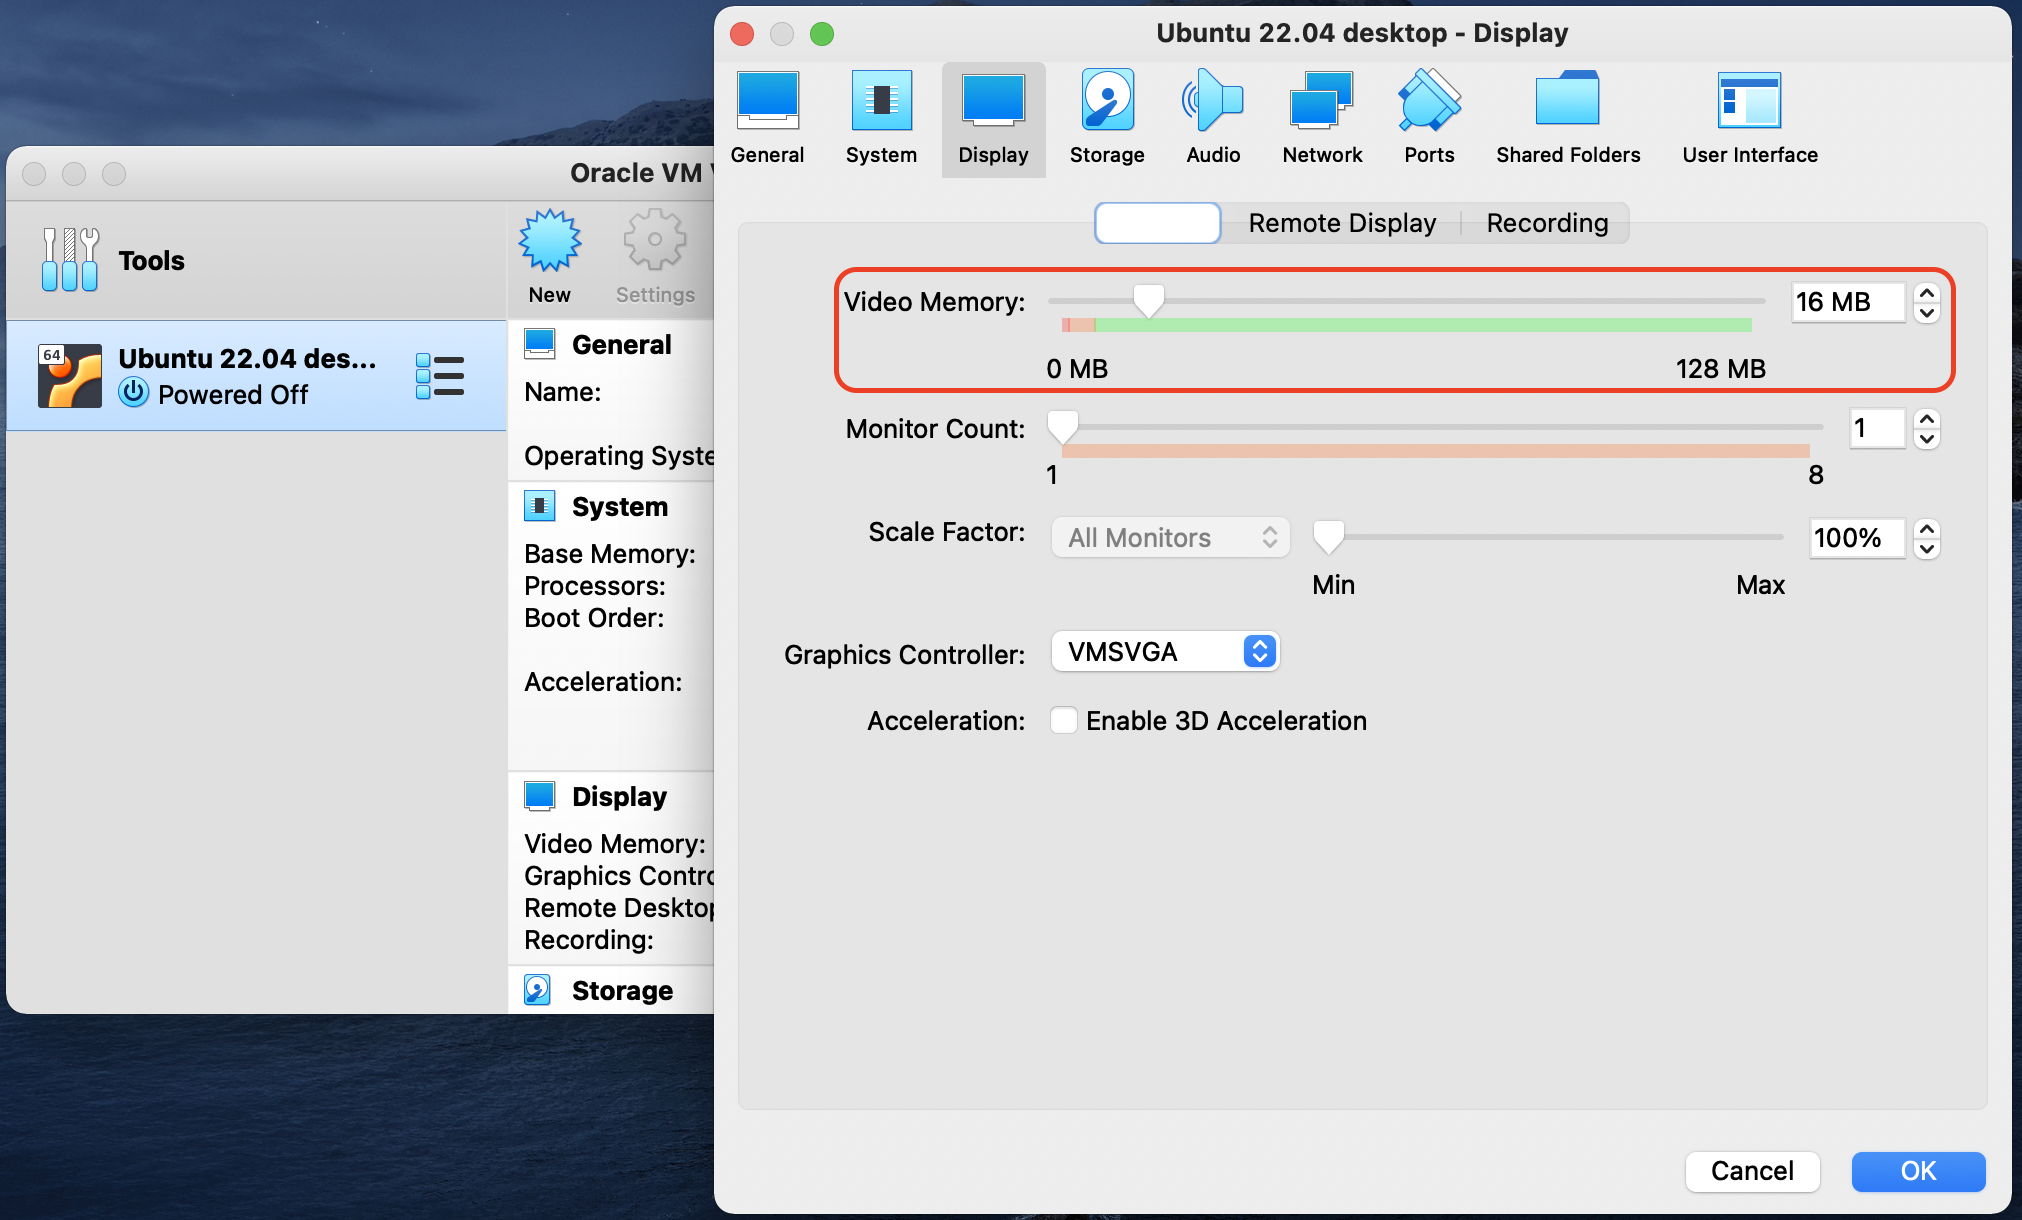
- Increase the “Settings > Display > Screen > Video Memory” configuration of your VM in VirtualBox Manager if the display becomes whole black when you try to use high resolution setting.
Run VirtualBox VM in Low Resolution
If you start your VM with freshly installed VirtualBox on macOS, you may find that the display of your VM doesn’t go well. The text and UI are too small to read and manipulate. To resolve it, you should run your VirtualBox VM in low resolution:
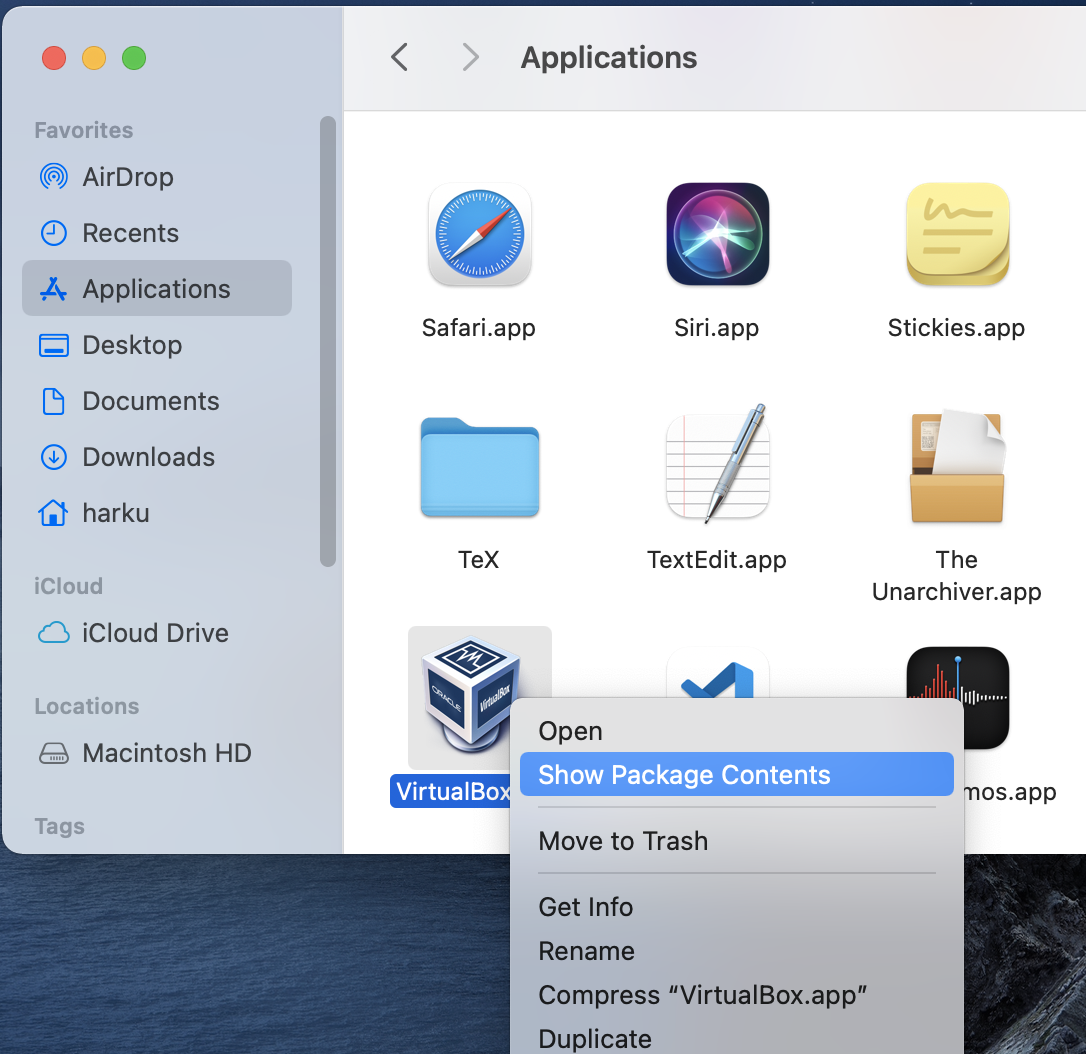
- Find out the “VirtualBox” application in “Finder > Applications”.
-
Right-click and select “Show Package Contents”.
- Find out the “VirtualBoxVM” application in “Contents > Resources”.
-
Right-click, select “Get Info”, and check the “Open in Low Resolution” option.
- Run your guest OS.
Checking the option will also reduce lag when interacting with the GUI of guest OS.
Auto-resize Guest Display
By default, the resolution of VM doesn’t change along with the window size in host. The “Auto-resize Guest Display” functionality is useful when you need to adjust the window size in host frequently. To enable it, you need to install VirtualBox guest additions in the guest OS. Although it is almost an essential step for one who is going to run a VM by VirtualBox, I still decide to roughly describe the steps here to make this article complete:
-
Update apt repository.
sudo apt update -
Install the build-essential packages.
sudo apt install build-essential -
Optionally, you may install the dkms package to keep the guest additions installed after a guest kernel update.
sudo apt install dkms -
Select “Devices > Insert Guest Additions CD image…” in your VirtualBox VM menu, and the “VBoxGuestAdditions.iso” disk will be loaded in your guest OS.
-
Go to the directory of guest additions disk and run the
autorun.shscript to start the installation.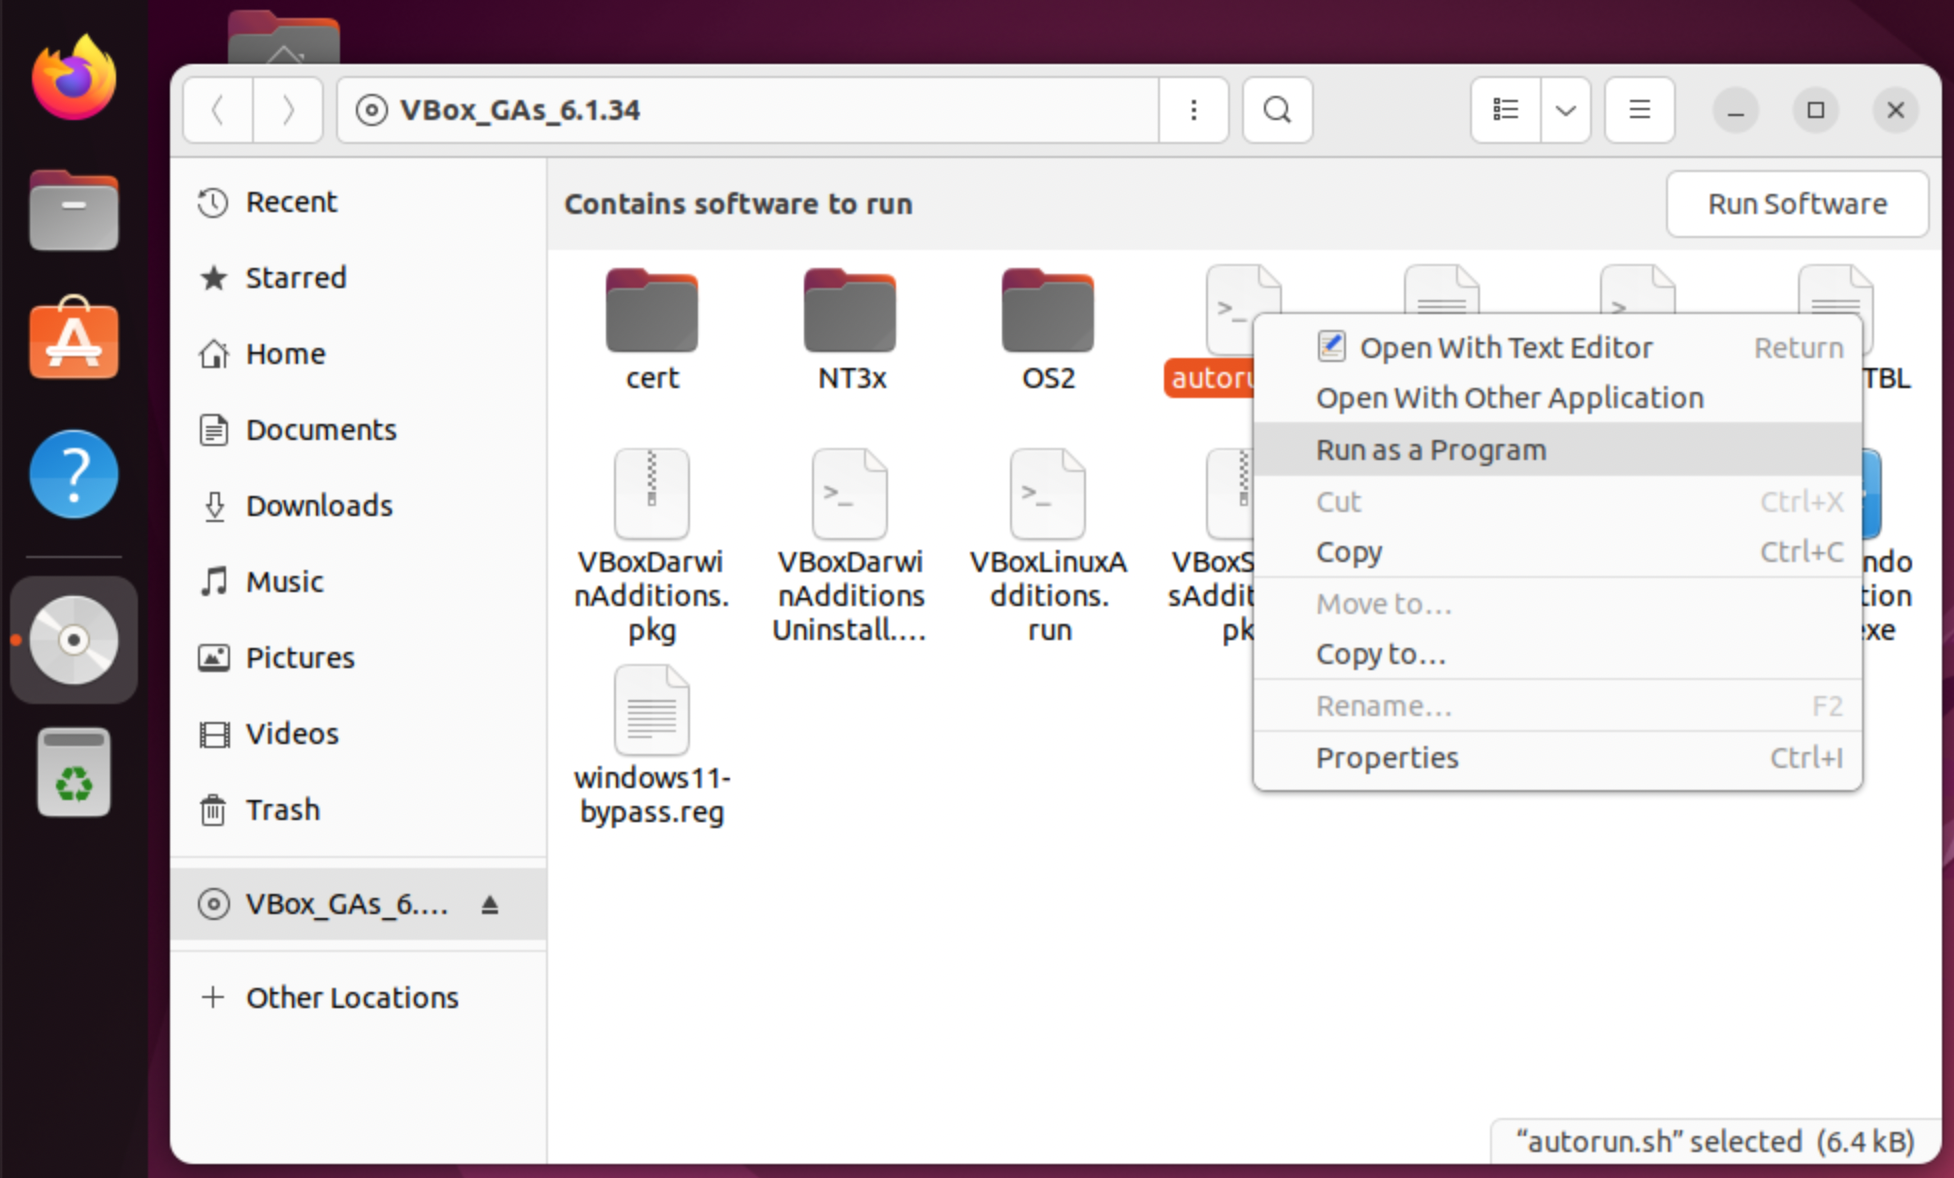
-
Restart your guest OS.
Increase Video Memory
If the display of your guest OS becomes whole black when increasing the display resolution, it might be caused by not enough video memory for your VM. You can find out the configuration of your VM at “Settings > Display > Screen > Video Memory” in VirtualBox Manager.